
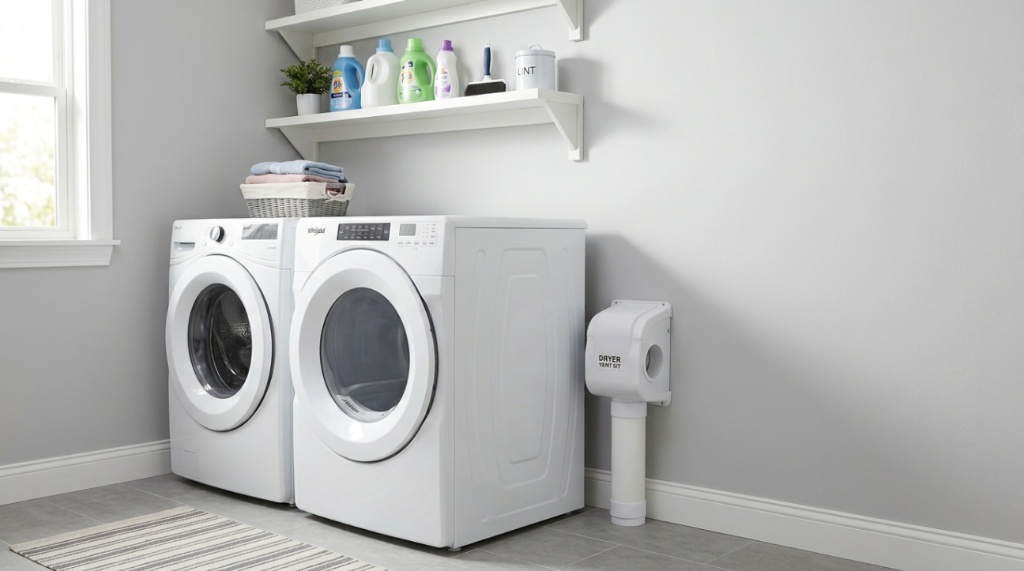
If you’ve ever stared at a pile of lint clinging to your dryer’s exhaust hose and wondered if there’s a better way to clean it out, you’re not alone. Dryer vent maintenance is one of those chores that’s easy to put off, but ignoring it can lead to longer drying times, higher energy bills, and even a serious fire hazard. The good news is that you don’t need to hire a professional or buy expensive equipment to keep your vent clear. You just need to know what to look for in affordable vacuum dryer vent kits and how to use them effectively. This guide will walk you through the key features, the common mistakes, and the practical steps to get the job done right without overspending.
Why Your Dryer Vent Needs Regular Cleaning
Every load of laundry produces lint, and while the dryer’s internal lint trap catches most of it, a surprising amount still escapes into the vent hose. Over time, this buildup restricts airflow. When airflow is restricted, your dryer has to work harder and run longer to dry the same amount of clothes. That wastes energy and puts unnecessary strain on the heating element. More importantly, lint is highly flammable, and a clogged vent is one of the leading causes of dryer-related house fires.
Cleaning your vent at least once or twice a year is a simple way to protect your home and improve efficiency. A vacuum-based kit is often the most practical solution because it lets you reach deep into the vent line without disconnecting the entire duct system. The trick is finding a kit that’s both affordable and actually capable of doing the job.
What to Look for in a Budget-Friendly Dryer Vent Kit
Not all vent cleaning kits are created equal. When you’re shopping on a budget, it’s tempting to grab the cheapest option on the shelf, but that can backfire if the kit is too flimsy to handle your setup. Here are the essential features to evaluate before you buy.
Flexible Rods That Actually Stay Connected
The core of any vacuum dryer vent kit is the set of flexible rods that connect to your vacuum hose and push through the vent. Look for rods that are stiff enough to push through bends but flexible enough to navigate corners. The connection points are where cheap kits often fail. If the rods snap together with a simple friction fit, they may come apart inside the duct. A kit with a threaded or locking connection system is worth the small price difference.
Vacuum Adapter Compatibility
Most kits include an adapter that lets you attach the rod assembly to your standard shop vacuum hose. Before purchasing, check whether the adapter fits your vacuum’s hose diameter. Shop vacuums typically have 1.5-inch or 2.5-inch hoses, and some kits only accommodate one size. If the adapter doesn’t fit snugly, you’ll lose suction, and the whole process becomes frustrating.
Brush Attachments for Agitation
Suction alone won’t remove lint that’s packed tightly against the walls of the vent. A good kit includes a brush attachment that fits over the end of the rod. As you push the rod through the duct, the brush loosens the lint, and the vacuum pulls it away. Look for a brush with stiff bristles that can handle buildup without bending out of shape.
Length and Reach
Measure the distance from your dryer to the exterior vent opening before you buy. Kits typically offer rods that connect to reach lengths of 12 to 30 feet. If you have a long, winding vent path, you’ll need a kit with more sections. Just remember that longer kits are slightly more expensive, but they’re still far cheaper than hiring a professional duct cleaning service,To ensure your appliance stays efficient and fire-safe, read our guide on 10 Vacuuming Mistakes You’re Probably Making.
Comparing Kit Types: Which One Fits Your Setup?
There are a few different styles of affordable vacuum dryer vent kits, and the right choice depends on your dryer configuration and how much buildup you’re dealing with.
| Kit Type | Best For | Key Advantage | Potential Drawback |
|---|---|---|---|
| Basic flexible rod kit | Short, straight vent runs | Lowest cost; simple to use | Limited reach; may struggle with sharp bends |
| Rod kit with brush heads | Standard home dryer vents | Better agitation for stuck lint | Requires more effort to push through |
| Rotary or drill-powered kit | Heavy buildup or long ducts | Spinning action breaks up clogs faster | Higher cost; requires a drill |
For most households, a basic rod kit with a brush attachment is the sweet spot between price and effectiveness. If you’ve never cleaned your vent before or you suspect a major clog, a rotary kit might save you time, but it’s not strictly necessary for routine maintenance.
Step-by-Step Guide to Using a Vacuum Dryer Vent Kit
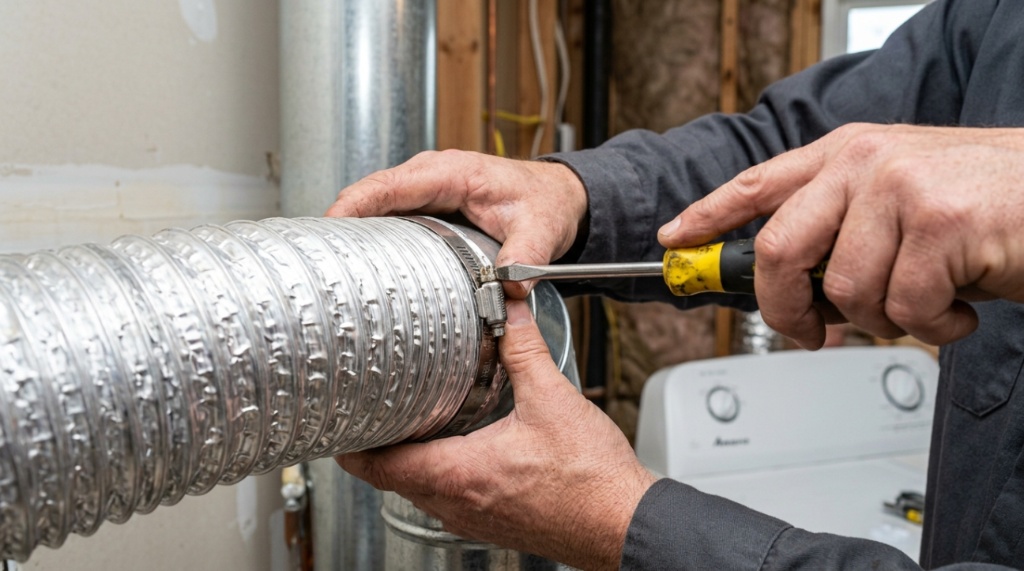
Once you’ve chosen a kit, the actual cleaning process is straightforward. Here’s how to do it safely and effectively.
Step 1: Disconnect the Dryer from the Vent
Unplug the dryer and pull it away from the wall. Loosen the clamp that holds the vent hose to the dryer’s exhaust outlet and detach the hose. You’ll want to work from the dryer side, pushing the cleaning rods toward the exterior wall.
Step 2: Attach the Vacuum Adapter
Connect the adapter to your shop vacuum hose, then attach the first rod section to the adapter. Make sure the connection is tight. Turn on the vacuum and check that you feel strong suction at the end of the rod.
Step 3: Push the Rod Through the Vent
Insert the rod into the vent opening and slowly push it forward. If you meet resistance, twist the rod slightly to help the brush work through the lint. Add additional rod sections as you go, always ensuring they’re securely connected. Push until you reach the exterior vent flap or feel the rod exit the other end.
Step 4: Pull Back and Repeat
Once the rod is fully through, slowly pull it back out while the vacuum is running. The brush will pull lint toward you, and the suction will capture it. You may need to repeat this process two or three times to get the vent fully clean, especially if it’s been a while since the last cleaning.
Step 5: Reconnect Everything
After you’ve removed the lint, reattach the vent hose to the dryer and tighten the clamp. Push the dryer back into place and plug it in. Run an empty load on the air-dry or fluff setting for about 15 minutes to confirm that airflow is strong and the vent is clear.
Common Mistakes to Avoid When Cleaning Your Vent
Even with the right kit, people make errors that reduce the effectiveness of the cleaning or cause damage. Here are the pitfalls to watch out for.
Using a Regular Household Vacuum Instead of a Shop Vacuum
A standard upright vacuum doesn’t have the suction power or the hose configuration to handle vent cleaning. You need a shop vacuum with a wide-diameter hose. If you don’t own one, consider borrowing one or buying a cheap model—it’s still more affordable than a professional cleaning service.
Forcing the Rod Past a Sharp Bend
If your vent has a 90-degree elbow, the rod may get stuck. Don’t force it. Instead, pull back slightly and rotate the rod while pushing forward. If it still won’t pass, you may need to access the vent from the exterior side and push from the opposite direction.
Ignoring the Exterior Vent Flap
The flap on the outside of your home can also collect lint and debris. While you’re cleaning the duct, take a moment to wipe down the flap and ensure it opens and closes freely. A stuck flap defeats the purpose of cleaning the interior.
When to Consider a More Expensive Kit
While affordable vacuum dryer vent kits work well for most homes, there are situations where spending a little more makes sense. If your dryer is located far from the exterior wall, or if the vent path includes multiple sharp turns, a rotary kit with a drill attachment will save you significant time and frustration. Similarly, if you have a rigid metal duct system rather than a flexible hose, the stiffer rods in a higher-end kit are less likely to kink or bend.
That said, you don’t need to buy the most expensive option on the market. Mid-range kits from reputable brands offer a good balance of durability and cost. If you’re unsure where to start, checking out a curated list of affordable vacuum dryer vent kits can help you narrow down the options based on real-world feedback and practical features.
How Often Should You Clean Your Dryer Vent?
The frequency depends on how often you use your dryer. For a typical family that does five to seven loads per week, cleaning the vent twice a year is a good rule of thumb. If you notice that clothes are taking longer to dry than they used to, or if the exterior vent flap doesn’t open when the dryer is running, it’s time to clean the vent regardless of the calendar.
Households with pets may need to clean more frequently, as pet hair adds to the lint buildup. The same goes for homes with long or complex vent runs, which naturally accumulate more debris.
Signs That Your Vent Is Clogged
Beyond longer drying times, there are several warning signs that your vent needs attention. The dryer’s exterior surface may feel hotter than usual, or the laundry room may feel more humid during a cycle. You might also notice a burning smell coming from the dryer, which is a serious red flag. If you see lint accumulating around the exterior vent opening, that’s another clear indicator that the duct is partially blocked.
Addressing these signs early with a simple vacuum kit cleaning can prevent more expensive repairs down the road. A clogged vent forces the dryer’s thermal overload switch to trip, which can shut the dryer off mid-cycle. Repeatedly tripping this switch can damage the heating element, leading to a costly service call.
Frequently Asked Questions
Can I use a vacuum dryer vent kit on a rigid metal duct?
Yes, but you’ll need to be more careful. Rigid metal ducts have sharper edges at the joints, which can snag the brush or rod. Work slowly and use a kit with a smooth, rounded brush head to avoid getting stuck.
Will a vacuum dryer vent kit work if my vent is completely blocked?
It depends on how severe the blockage is. A vacuum kit can handle moderate lint buildup, but if the vent is completely packed, you may need to disconnect the duct and clean it in sections. In extreme cases, a professional cleaning may be necessary.
Do I need a special vacuum for dryer vent cleaning?
You don’t need a special vacuum, but you do need a shop vacuum with strong suction. A regular household vacuum lacks the airflow and hose size to effectively pull lint through a long duct.
How long does it take to clean a dryer vent with a vacuum kit?
For a standard setup, the process takes about 30 to 45 minutes, including moving the dryer and reconnecting everything. The actual rodding and vacuuming takes about 10 to 15 minutes.
Can I damage my dryer by cleaning the vent myself?
As long as you disconnect the vent hose from the dryer before cleaning, you won’t damage the dryer. The risk comes from pushing lint back into the dryer, which is why you should always work from the dryer side toward the exterior.
Conclusion
Keeping your dryer vent clean doesn’t have to be a costly or complicated project. With the right affordable vacuum dryer vent kit, you can handle the job yourself in under an hour, save money on energy bills, and reduce the risk of a house fire. Focus on finding a kit with secure rod connections, a compatible vacuum adapter, and a brush attachment that can handle real buildup. Avoid the common mistakes of using the wrong vacuum or forcing the rod through tight bends, and you’ll get professional-quality results without the professional price tag. Make vent cleaning a regular part of your home maintenance routine, and your dryer will thank you with faster drying times and reliable performance for years to come.