
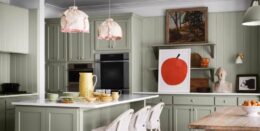
Restoring original milk paint cabinets breathes new life into your kitchen. These timeless pieces, often found in vintage or farmhouse-style homes, carry a unique charm. Milk paint, made from natural ingredients like calcium carbonate and linseed oil, offers a durable yet eco-friendly finish. However, time and wear can dull their beauty. This guide shows you how to restore them with care, preserving their vintage look while refreshing their appeal.
According to a 2023 study by the National Kitchen and Bath Association, 65% of homeowners prefer sustainable materials for kitchen renovations. Milk paint fits this trend perfectly, being low in volatile organic compounds and biodegradable. Whether you’re tackling kitchen cabinets or cabinet doors, this article covers every step to achieve a professional result.
Why Choose Milk Paint for Cabinets?
Milk paint has been a favorite for centuries, used even in ancient Egyptian burial furniture. Its natural composition creates a smooth, matte finish that ages gracefully, often achieving a chippy look or distressed finish. Unlike latex wall paints or high-quality acrylic paint, milk paint bonds deeply to wood, making it ideal for furniture refinishing, especially for vintage farmhouse charm.
- Eco-Friendly: Contains no harmful chemicals.
- Versatile: Works on raw wood, painted surfaces, or even cabinet hardware.
- Unique Aesthetic: Offers colors like Holiday Red Milk Paint, Brick Red Milk Paint, or Seagull Gray for a custom look.
Restoring milk paint cabinets preserves their character while updating your space. Let’s dive into the process.
Tools and Materials Needed
Before starting, gather these essentials to ensure a smooth restoration process. Most are readily available at hardware stores or online.
- Sanding Sponge: Smooths surfaces without aggressive abrasion.
- Steel Wool: Refines surfaces for a polished finish.
- Painter’s Tape: Protects areas like tile backsplash or drawer fronts.
- Foam Roller or Paint Roller: Ensures even application.
- Round Brush or Pointed Sash Brush: Perfect for detailed areas.
- Drop Cloth: Keeps your workspace clean.
- Denatured Alcohol: Cleans surfaces effectively.
- Liquid Deglosser or TSP Alternative: Preps surfaces by removing grime.
- Milk Paint Powder: Brands like Homestead House Milk Paint or General Finishes Milk Paint work well.
- Hemp Oil or Furniture Wax: Seals and protects the finish.
- Painter’s Pyramids: Elevate cabinet doors for easy painting.
- Spray Gun (Optional): For a professional, even coat, like the Binks 2000 system.
Having these tools ready saves time and ensures quality results when buying a new house.
Step-by-Step Guide to Restoring Milk Paint Cabinets
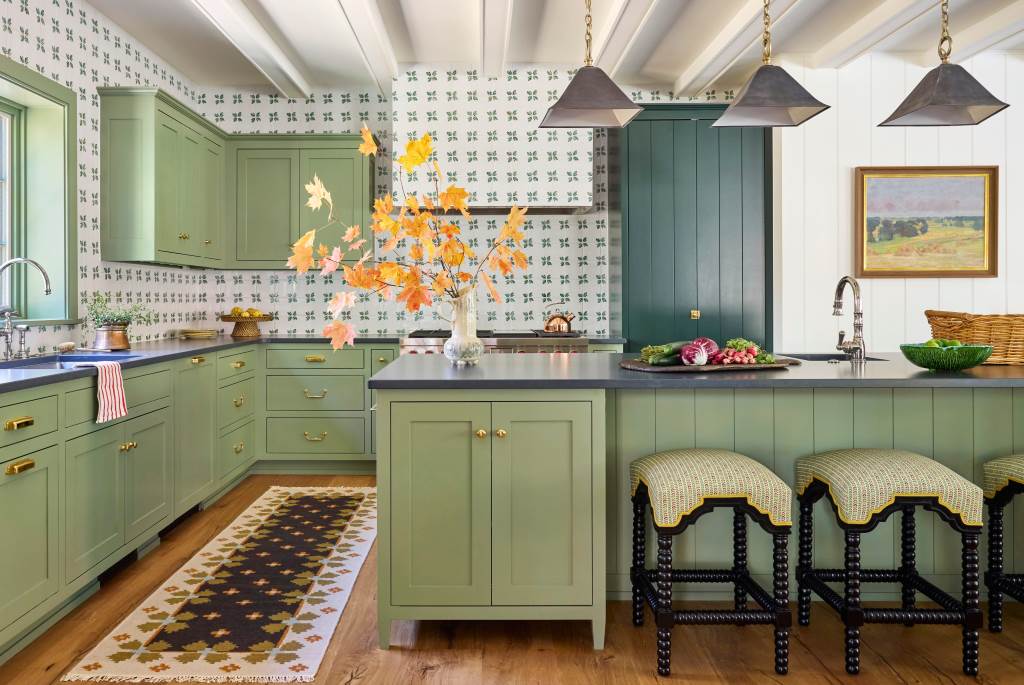
Restoring milk paint cabinets requires patience and precision. Follow these steps for a flawless finish.
1. Assess the Cabinets
Inspect your cabinets for damage, wear, or peeling paint. Check cabinet hinges, door pulls, and drawer fronts for rust or looseness. Note areas needing repair, like scratches or dents. This step helps you plan your approach, whether aiming for a vintage look or a fresh, modern style like Patina Green or Klein Blue Milk Paint.
2. Remove Hardware and Prep the Area
Remove cabinet hardware, such as mercury glass knobs or acrylic drawer pulls. Label each piece to simplify reassembly. Cover countertops, floors, and nearby lighting fixtures with a drop cloth. Use painter’s tape to protect adjacent surfaces like a tile backsplash or rustic farmhouse carrier.
3. Clean the Surfaces
Clean cabinets thoroughly to remove grease and dirt. Mix a TSP alternative or Fusion TSP Alternative with water, following the paint maker’s directions. Wipe surfaces with a damp cloth soaked in this solution. For stubborn stains, use denatured alcohol. Dry completely to avoid moisture issues.
4. Sand and Degloss
Lightly sand surfaces with a sanding sponge or fine-grit sandpaper to smooth imperfections. For glossy finishes, apply a liquid deglosser to dull the surface, ensuring better paint adhesion. Wipe away dust with a tack cloth. This step is critical for milk paint to bond properly, unlike high-quality mineral paint or Advance by Benjamin Moore.
5. Apply a Stain Blocker or Undercoat
For cabinets with dark stains or knots, use a stain blocker like General Finishes Stain Blocker or Enduro Water-Based Stain Blocker Primer. Apply a water-based white undercoat, such as GF White Undercoat, for lighter colors like Seagull Gray. Use a foam roller for even coverage and a pointed sash brush for edges. Let it dry for 4–6 hours.
6. Mix and Apply Milk Paint
Mix milk paint powder with water according to the package instructions. Brands like General Finishes Milk Paint or Homestead House Milk Paint offer vibrant shades like Holiday Red Milk Paint or Brick Red Milk Paint. Stir well to avoid clumps. Apply the first coat with a foam roller or spray gun for large areas and a round brush for detailed spots. Let it dry for 2–4 hours. Apply a second coat for full coverage.
For a chippy look, skip the stain blocker in some areas to let the paint naturally peel. For a smooth finish, use GF Extender to slow drying time and reduce brush marks.
7. Distress (Optional)
For a distressed finish or vintage farmhouse charm, lightly sand edges with steel wool or a sanding sponge. Focus on areas like cabinet doors or drawer fronts for a natural, worn look. This technique highlights the unique texture of milk paint, unlike chalk style paint or Fusion Mineral Paint.
8. Apply a Top Coat
Seal your cabinets with a top coat to protect the finish. Options include:
- Hemp Oil: Adds a natural sheen and protects against moisture.
- Furniture Wax: Offers a soft, matte finish.
- General Finishes High Performance Top Coat or Flat Out Flat: Provides durability for high-traffic kitchens.
- GF White Poly or Wipe On Urethane: Ideal for a glossy, modern look.
Apply with a clean cloth or brush, following the grain. Let it cure for 24–48 hours.
9. Reattach Hardware and Final Touches
Reattach cabinet hardware, ensuring hinges and door pulls are secure. Clean any smudges with denatured alcohol. Step back and admire your restored cabinets, now glowing with colors like Barn Red or Carriage House-inspired hues.
Tips for Success
- Test First: Try milk paint on a small area to ensure the color and finish match your vision.
- Work in Small Sections: Paint one cabinet or door at a time to maintain control.
- Ventilate: Milk paint is low in volatile organic compounds, but good airflow helps drying.
- Follow Drying Times: Rushing leads to uneven finishes or peeling.
- Experiment with Glaze Effects: General Finishes Glaze Effects add depth or an antique crock-like patina.
Common Mistakes to Avoid
- Skipping Surface Prep: Grease or dirt prevents paint adhesion.
- Over-Sanding: Too much sanding removes the wood’s character.
- Ignoring Drying Times: Wet paint leads to smudges or cracks.
- Using Wrong Tools: A paint roller leaves streaks; use a foam roller instead.
- Neglecting a Top Coat: Unsealed milk paint chips easily in kitchens.
Inspiring Examples
A 2024 Houzz report found that 78% of homeowners value unique kitchen designs. One homeowner transformed their kitchen using Holiday Red Milk Paint for a bold, vintage look, paired with mercury glass knobs. Another used Seagull Gray with Java Gel Stain accents for a modern yet rustic farmhouse carrier vibe. These projects, shared by Phoenix Restoration and Re-New Relics, show how milk paint elevates custom furniture builders’ work. Explore Should I buy a house with my parents?
FAQs
How Long Does Milk Paint Last on Cabinets?
Milk paint lasts 5–10 years with proper care and a top coat. Regular cleaning with a damp cloth maintains its look.
Can I Use Milk Paint Over Chalk Paint?
Yes, sand lightly and apply a stain blocker before painting. Milk paint adheres well to chalk paint with proper prep.
What’s the Difference Between Milk Paint and Chalk Style Paint?
Milk paint is natural, eco-friendly, and creates a chippy look. Chalk style paint, like Fusion Mineral Paint, is thicker and smoother.
How Do I Clean Milk Paint Cabinets?
Use a mild soap solution and a soft cloth. Avoid harsh chemicals to preserve the finish.
Can I Achieve a Modern Look with Milk Paint?
Yes, use colors like Klein Blue Milk Paint or GF White Poly for a sleek, contemporary finish.
Conclusion
Restoring original milk paint cabinets transforms your kitchen with eco-friendly beauty. From cleaning with a TSP alternative to sealing with hemp oil, each step preserves the vintage charm while refreshing the look. Whether you love a chippy look or a smooth, modern finish, milk paint offers endless possibilities. Grab your tools, pick a color like Patina Green or Holiday Red Milk Paint, and start your project today. Your dream kitchen awaits!
References
- National Kitchen and Bath Association, 2023 Trends Report: https://nkba.org/research/2023-design-trends/
- Houzz 2024 Kitchen Trends Study: https://www.houzz.com/magazine/2024-kitchen-trends-study