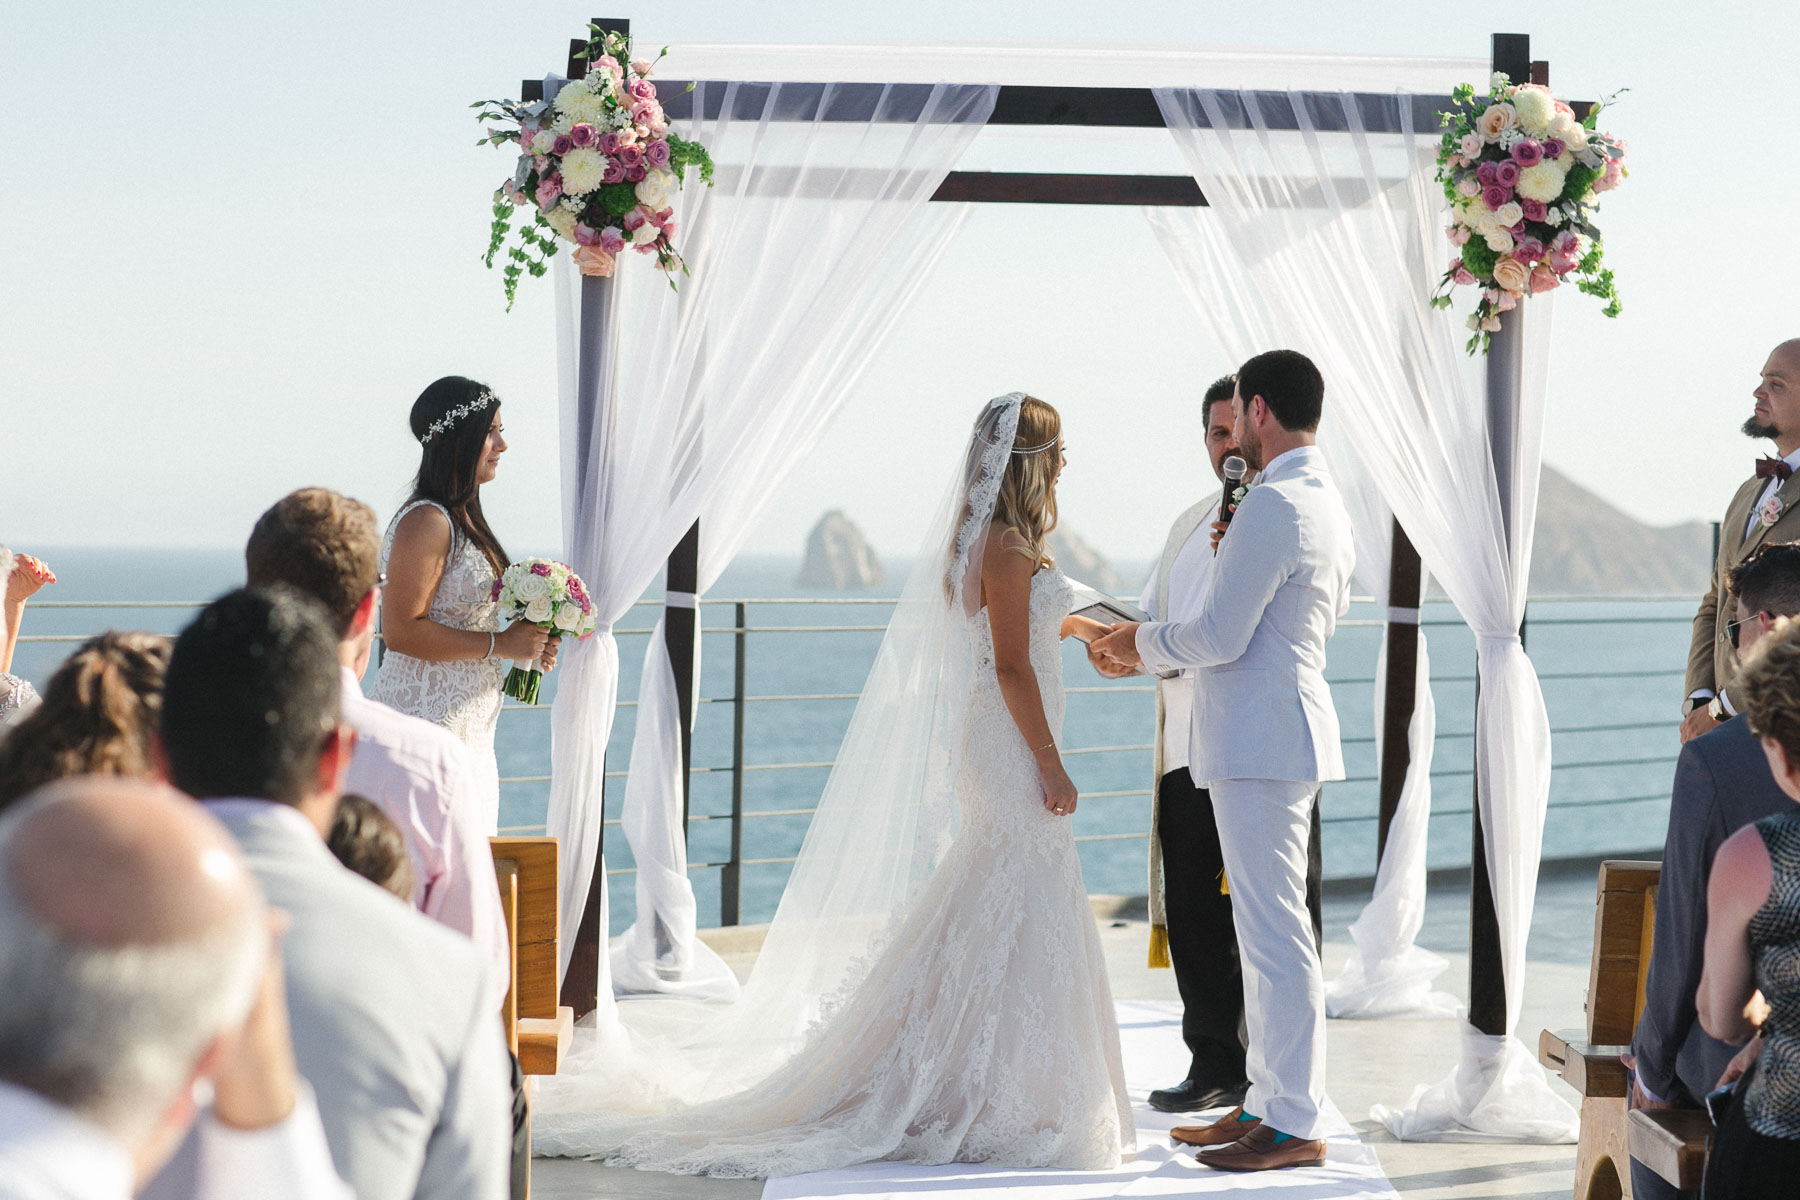
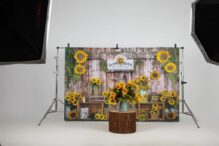
A backdrop stand is an incredibly useful tool for photographers, videographers, event planners, and anyone who wants a simple way to create a professional-looking background. With a backdrop stand, you can quickly set up backdrops for portraits, promotional videos, trade show booths, and more.
The best part is that building your own backdrop stand is easy and inexpensive. In this guide, I’ll walk you through how to build a backdrop stand, from choosing materials to assembling the final product. By the end, you’ll have the knowledge to create a customized backdrop stand that fits your unique needs and budget.
Step 1: Choose Your Backdrop Stand Materials
The first step is deciding what you want to make your backdrop stand out of. Here are some of the most common materials and their pros and cons:
PVC Pipe
PVC is inexpensive, widely available, and easy to work with. It’s lightweight yet provides enough strength and durability for most backdrop stands. Standard sizes like 1/2″ and 3/4″ PVC pipe fit well for this project.
Pros:
- Inexpensive
- Easy to cut and assemble
- Lightweight but sturdy
Cons:
- Can feel flimsy with large backdrops
- Not as aesthetically pleasing
Electrical Conduit Pipe
Slightly more expensive but provides additional strength over PVC. 1/2″ and 3/4″ electrical conduit pipe are ideal sizes.
Pros:
- Very strong and stable
- More attractive aesthetic
Cons:
- More expensive than PVC
- Requires some special tools to cut
Wood Dowels
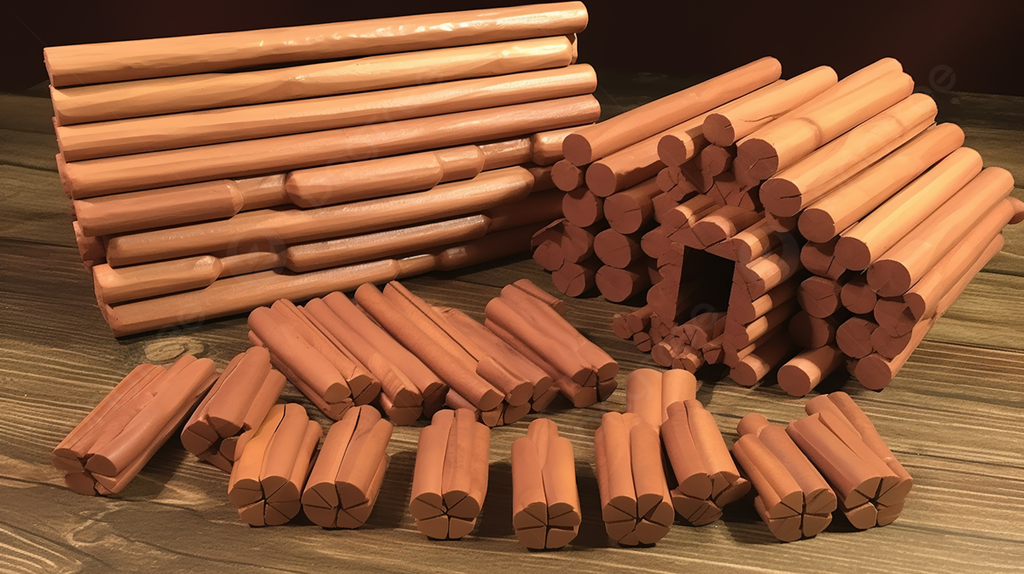
For a vintage, rustic look, wood dowels can make charming backdrop poles. Opt for 1/2″ or 3/4″ diameters.
Pros:
- Attractive natural appearance
- Inexpensive
Cons:
- Not as sturdy as metal pipes
- Prone to warping
Aluminum Poles
Aluminum provides a modern, industrial look and is both strong and lightweight. Schedule 40 aluminum pipe is recommended.
Pros:
- Very strong but light
- Sleek, contemporary appearance
Cons:
- More expensive
- Can be tricky to cut
Once you decide on a material, purchase enough to build poles to your desired width and height. Most backdrop stands use two poles. For portability, keep total width under 10 feet.
Step 2: Choose Your Connectors and Bases
In addition to pipes, you’ll need bases to keep the backdrop upright and connectors to join pole pieces together.
Bases
Backdrop stands need weighted bases for stability. Some good options:
- Sandbags: Simple and inexpensive but very effective. You can fill bags with sand or other heavy material.
- Tripod stands: More adjustable and portable than sandbags. Great for location shoots.
- Stage weights: Cylindrical metal bases filled with concrete. Very sturdy but heavy.
- Floor flanges: Anchor backdrop poles directly to the floor. Provides great stability.
Connectors
You’ll need connectors to join poles together and attach to bases. Consider:
- Elbows: Allow you to connect poles at 90 degree angles. Useful for adjusting stand height.
- Tees: T-shaped fittings that let you extend width by joining poles horizontally.
- Flanges: Anchor poles to tripod stands or floor flanges.
- Couplers: Join two poles end-to-end for more length.
Purchase connectors in the same size as your pipes. Have at least 2 elbows and 2 tees, plus other connectors as needed.
Step 3: Cut Poles to Desired Lengths
Once you have your materials, it’s time to start building. First, measure and cut your pipes to the lengths you want for each section.
Most backdrop stands use two upright poles, so cut two pieces to your desired height. For width, cut two or more sections that join together horizontally.
Here are some tips for cutting pipes cleanly and safely:
- Use a miter saw with a sharp blade, if cutting wood dowels.
- For plastic and metal pipes, a pipe cutter is the best tool.
- Make sure poles are secured in place before cutting.
- Wear safety goggles to protect your eyes from debris.
- File or sand cut ends to remove any rough edges.
Cut pieces a few inches longer than your final dimensions to leave room for connectors. Once your poles are cut, it’s time to start assembling.
Step 4: Assemble the Backdrop Stand Frame
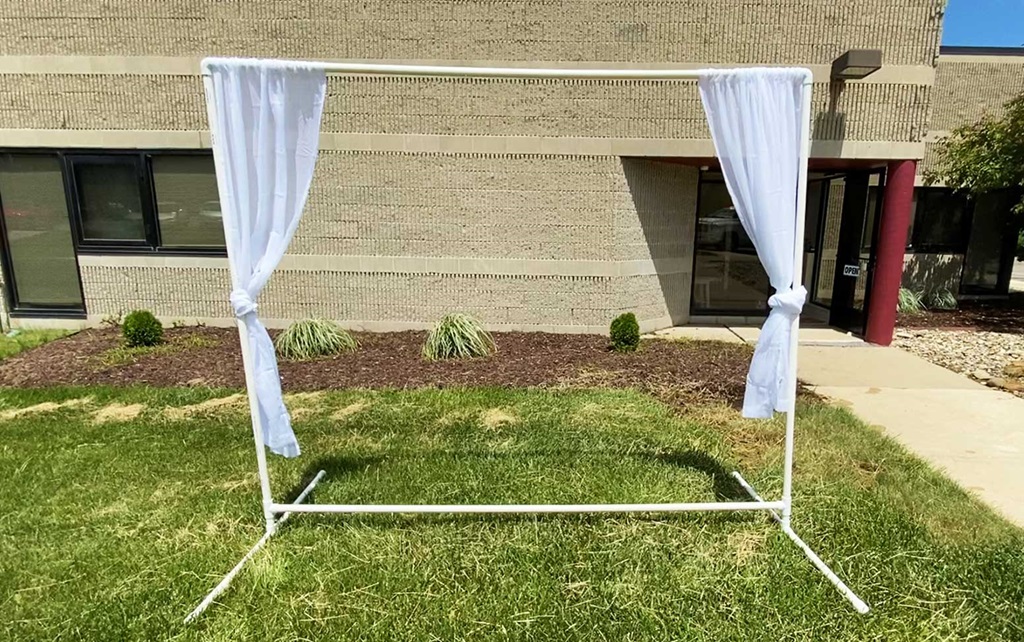
The fun part is now putting all the pieces together! Follow these steps:
1. Attach Upright Poles to Bases
First, attach your two upright poles to bases. Sandbags can simply hold poles in place. For tripods and floor flanges, use flanges to connect poles. Tighten securely.
2. Join Horizontal Crossbar Sections
Next, attach connector fittings like tees and couplers to your horizontal crossbars. Use at least two sections to achieve desired width.
3. Add Elbows to Uprights
Insert an elbow connector several inches from the top of each upright pole. Face them inward at 90 degree angles.
4. Join Crossbar to Uprights
Finally, lift the crossbar pieces up and insert them into the elbow connectors on the uprights. Your backdrop frame is complete!
Step 5: Add Backdrop Attachment Hardware
You need some way to securely attach your backdrop material to the stand frame. Here are some attachment options:
Eye Bolts
Screw eye bolts into the ends of your horizontal crossbars. Use carabiners or S-hooks to clip backdrop to the eye bolts.
Backdrop Clips
Special spring-loaded clips grab onto the crossbar, with teeth that bite into fabric. Avoid damaging delicate backdrops.
Velcro Strips
Adhere velcro strips onto crossbars and corresponding velcro onto backdrop corners. Quick and adjustable.
Sandbags
Weigh down bottom of fabric backdrop with sandbags. Provides tension to keep backdrop taut.
Experiment to find the best method for your particular backdrop material. Add ties if needed to keep fabric centered and tight.
Step 6: Set Up and Use Your Backdrop Stand
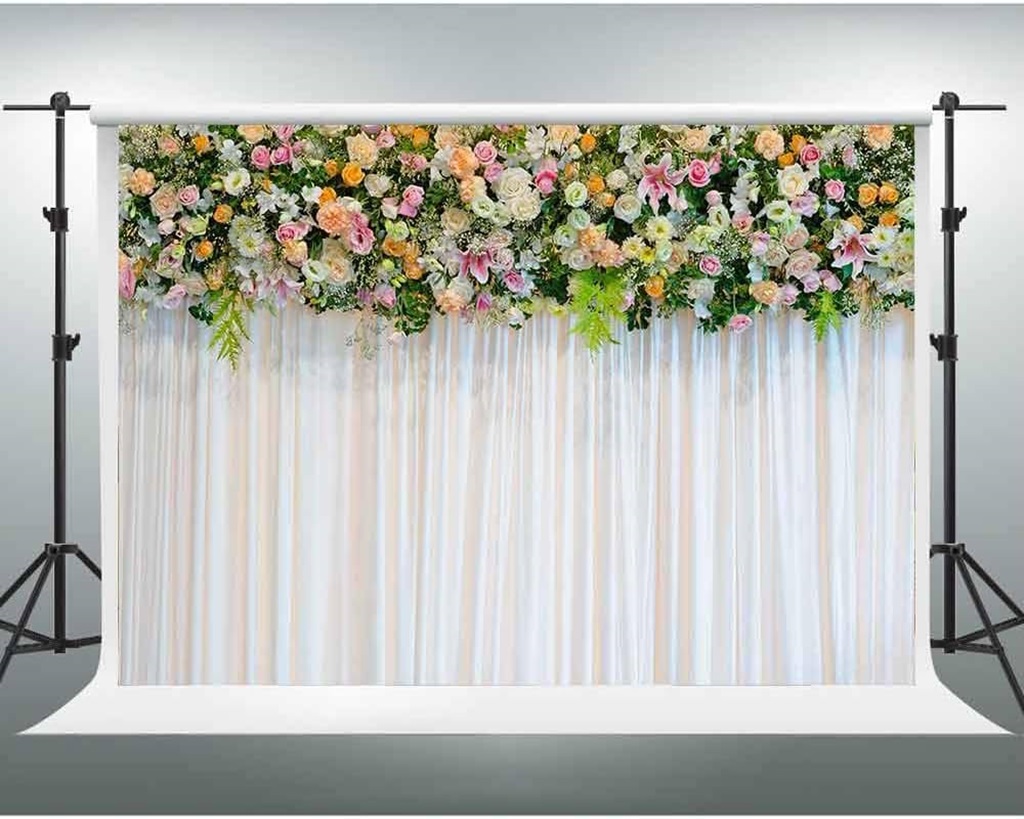
You’re finally ready to put your new backdrop stand to use! Here are some tips:
- Set up on a flat, stable surface so stand doesn’t tip over.
- Drape backdrop fabric over crossbar, centering it evenly.
- Consider adding small weights or clamps to bottom corners for straight hanging.
- Adjust stand height and width as needed for best positioning.
- Make sure sandbags or tripod feet are secure to avoid mishaps.
- Check that stand is plumb and level using a bubble level tool.
- Light backdrop evenly by placing lights in front and behind.
- Use creases and wrinkles strategically to add dimension.
- Fold and roll backdrop neatly for transport and storage.
You now have a backdrop stand perfect for professional-looking photography, videos, exhibits, and more. The best part is you can customize measurements, materials, and attachments to perfectly suit your needs.
Building your own backdrop stand is deeply rewarding and can save you a lot of money. The ability to modify and adapt it over time is an added benefit. With this simple, step-by-step guide, you now have all the knowledge needed to create the perfect backdrop stand.
Conclusion
Building your own backdrop stand is a fun, rewarding DIY project that can save you money compared to buying one pre-made. With just some basic materials like pipes, bases, connectors and backdrop hanging hardware, you can create a customized backdrop stand perfect for your needs.
The key steps outlined in this guide like choosing materials, cutting pipes, assembling the frame, adding attachments, and setting up the stand give you all the knowledge you need to build your own quality backdrop stand. Just take it step-by-step.
With a little time and effort, you can construct a backdrop stand that looks professional, is adjustable, portable, and will last for years to come. The ability to modify and upgrade it as your needs change make building your own an even more valuable investment. Follow this guide and you’ll have a beautiful, functional backdrop stand that elevates all your photos and videos to the next level.
Frequently Asked Questions
What size backdrop stand should I build?
This depends on your needs, but 7-10 feet wide and 6-8 feet tall are common dimensions for standard portraits and small products. Larger stands up to 16 feet wide work for groups, vehicles, and more. Keep portability in mind too.
What’s the best material for a lightweight but sturdy backdrop stand?
3/4 inch PVC pipe provides a nice balance of strength and light weight. Aluminum poles are also strong yet lightweight. For indoor use only, 1/2 inch wood dowels offer a lightweight natural look.
Do I need special tools to assemble a backdrop stand?
Basic hand tools like a hacksaw, cordless drill, pipe cutter, tape measure and wrench can assemble most non-wooden stands. For wood dowels, a miter saw and wood glue may be needed. Protective eyewear is also recommended.
How do I transport and store my backdrop stand?
Disassemble stand into individual pieces that stack together compactly. Carry in bags or cases with padding. Store in a dry area laying flat to prevent warping. Consider collapsible options like aluminum and wood to save space.
What kind of backdrop fabrics work best?
Muslin and canvas fabrics are popular choices that drape nicely and are easy to find. Bed sheets make inexpensive backdrops in a pinch. Paper, photo, and fabric backdrops all work well on stands. Match weight to pole strength and use appropriate attachments.