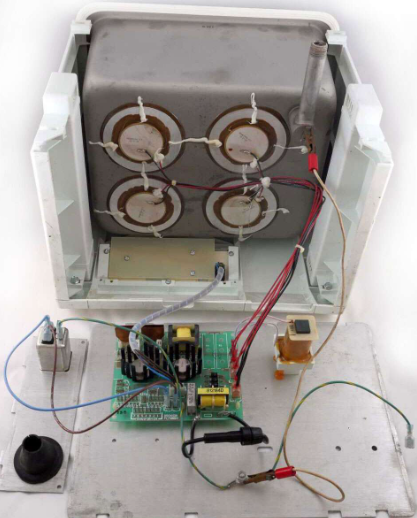
This is a homemade ultrasonic cleaner for use with small machines

Mistakes People Make When Buying a Trailer
July 25, 2023
Design Ideas For a Stunning Patio
July 29, 2023Do you need an ultrasonic cleaner for a one-off project or occasional use, but don’t want to buy one? Here’s how to DIY an effective ultrasonic cleaner.
What is an ultrasonic cleaner?
It is a type of cleaning machine that uses high-frequency sound to agitate dirt and grime with the help of a cleaning solution. They can range in size from small cleaners, used for cleaning jewellery and small parts, to a large ultrasonic cleaner which can help clean large items such as car engines.
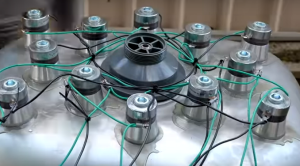
They are made from three parts: a tank which holds the cleaning solution, a generator for power and a transducer to convert the power into high-frequency sound. The sound creates tiny cavitation bubbles which get into all the nooks and crannies and then burst, loosening dirt and grime.
How to DIY an ultrasonic cleaner
While you can’t make a large ultrasonic cleaner at home, you can make a small one using a coffee can, palm sander and a bucket.
You will need to put the bucket on top of some two-inch foam to stop it moving, then tape the coffee can to the sander, and place them inside the bucket. Fill the can with a cleaning solution, and plug the sander in. The sander will create vibration which will heat the can and cause those all-important cavitation bubbles.
The type of cleaning solution you need will vary depending on the job you need to do:
Jewellery: Two cups of water, 1 teaspoon of household ammonia and two tablespoons of dish soap.
Tarnish: Half water and half white vinegar and add a few drops of dish soap.
Rusty parts: A bath of vinegar with a scoop of OxiClean and water. Of course, there are limits to the size of parts that you can clean from home.
If you are looking to clean anything bigger you will need a large ultrasonic cleaner. For regular use these can be purchased, but you will also find service companies who can clean items for you.

