Tips for Staining Your Wood Windows

Refinishing Old Wood Floors: What You Need to Know
September 20, 2019
Are Gorillas behaving differently because of humans?
September 20, 2019Now that you’ve bought your wood windows you can toss aside that window buying guide and refer to this window staining guide to learn the best tips for staining your wood windows. This is not a difficult task to accomplish, pretty much anyone can do it as you don’t need to be a seasoned do-it-yourselfer to make your raleigh replacement windows look terrific.
But there is a right way and a wrong way do to finish your wood and we are going to walk you through everything that you need to know to get the job done.
Table of Contents
ToggleSelecting the Right Stain
First things first, find the stain color that best suits your home. This is going to be different than selecting the best paint as wood stain is designed to give your project a smooth, natural aesthetic, unlike paint which is usually chosen as a means of bringing a splash of color or contrast to existing color that is already present in the home.
You will find a myriad of options for wood stain shades and choosing the one that fits best is going to take some careful consideration of the appearance you wish to present. So, think about what might look appropriate in your home or if you’re still not sure, consult with a stain expert at your local hardware retailer.
Staining Your Wood
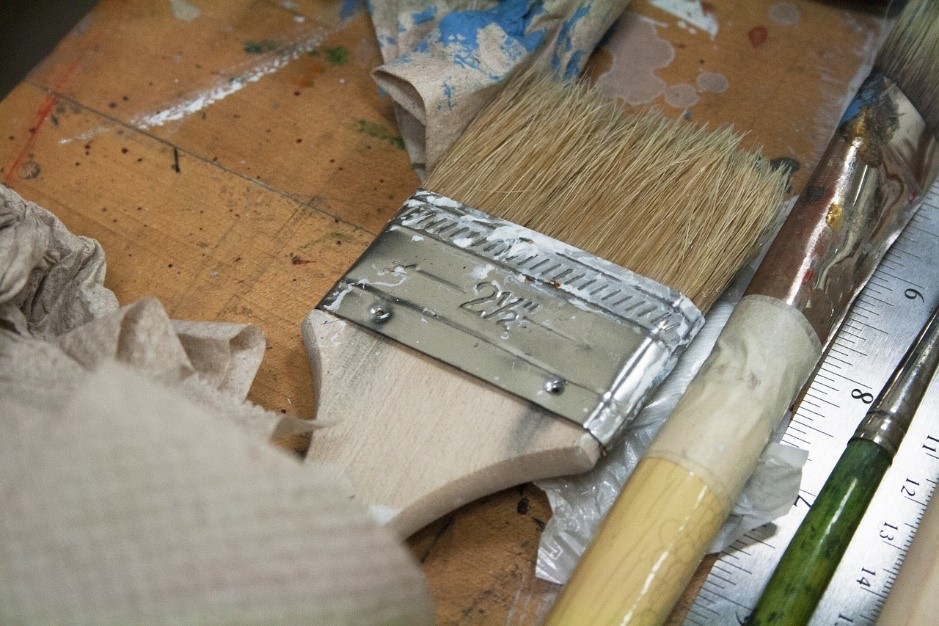
So now you’ve chosen the stain you want, it’s time to apply it to your wood windows. You’re going to need a list of materials, all of which are easily acquired when you buy your stain. You’ll need things like sandpaper, painter’s tape, a bunch of dry, clean cloths, a cleaning solution (vinegar-based preferable), your wood stain, a wood conditioner that you will apply ahead of your stain, some oil-based wood varnish, and brushes. Lots of them!
Now, let’s get to work:
Breakdown
You are not going to stain the window in its current form. You need to break it down into separated components. Don’t be lazy, this is an important step and you need to do it. Be sure to apply your painter’s tape to the glass so your lines are sharp and clean (and you don’t make a mess on the glass).
Detach the hardware and other pieces that could interfere with you doing a complete stain job.
Prep the Wood
Here is where you need your sandpaper. You are going to sand the surfaces you plan to stain, going with the grain until any impurities and rough patches are removed. Do this thoroughly as it will affect the look of your window frame if you cut corners.
Glass Surface Washing
Now you want to get that vinegar-based cleaning solution and wash down the glass of your window. Get every corner and don’t worry about streaking. If you find some streaks after you’ve rubbed the glass down completely, some clean water should help you get those streaks removed.
Mask the Glass
Grab your painter’s tape and mask off the glass and all other areas you do NOT want marred by your stain finish. This doesn’t need to be perfect, just enough to protect the pertinent areas.
Pre-stain the Wood
You want to ensure that your finished product is free from imperfections and the stain finish is smooth and even throughout every area of your wood surface. So, you will need to pre-stain the wood with your conditioner. This isn’t a tough step to perform, just follow the directions on the conditioner you purchased and you’ll be ready to get the job done.
Stain the Wood
Here we go, now the big step. You will need to be careful and thorough about applying your stain to the wood. It might require more than one coat to get the appearance you want on your windows. Don’t be sparing with the stain either, you can slather it on there to ensure that you fully saturate the wood surface. Wipe away excess stain with a rag and get a smaller brush to remove stain from crevices.
Varnish
Once you’ve finished applying the stain to your desired color, allow it to dry fully before you finish the wood surface with your oil-based wood varnish. Again, follow the directions on the bottle to help assist you in applying it properly and, much like with the stain, you might be required to apply more than one coat to the wood to achieve the aesthetic you have in mind. Take this step slowly as well and be thorough about your application.


