Things You Need to Know About Tile to Drywall Transition

Is Taj Mahal Quartzite Outdated
November 5, 2023
Pay Attention to Your Online Marketing in the Run up to Christmas
November 7, 2023When it comes to home improvement projects, one area that often gets overlooked is the transition from tile to drywall. Whether you’re working on a bathroom renovation or a kitchen backsplash, understanding how to create a seamless and aesthetically pleasing tile to drywall transition is crucial. In this comprehensive guide, we’ll delve into the world of tile to drywall changes, exploring the different methods and techniques to achieve a professional finish. We’ll also address common issues that may arise during the process and provide you with a treasure trove of tips and tricks to make your project a success.
Table of Contents
ToggleWhat is a Tile to Drywall Transition?
Let’s start by demystifying the concept of a tile to drywall transition. This is the junction where your tiled surface meets the adjacent drywall. It’s a critical element of any tiling project as it not only serves as an aesthetic boundary but also plays a functional role in protecting the drywall from moisture. In areas like showers or kitchens, where water exposure is a concern, a well-executed tile to drywall change is essential for maintaining the structural integrity of your walls.
Why is it Important?
Understanding the importance of a proper tile to drywall shift is key to a successful home improvement project. Here are a few key reasons:
- Aesthetic Appeal: A seamless transition enhances the overall look of your tiled surface, giving it a polished and professional appearance.
- Protection: In wet areas, such as showers, the transition acts as a barrier, preventing water from seeping into the drywall, which can lead to mold and other issues.
- Durability: A well-done transition contributes to the longevity of your tiles and prevents damage to the underlying drywall.
Different Ways to Transition from Tile to Drywall
Now, let’s explore various methods for achieving a tile to drywall transition:
- Butt Joint with Caulk:
- This method involves placing the last row of tiles directly against the wall. A bead of silicone caulk is applied to the joint to seal it.
- It’s a simple and cost-effective option, but it may not offer the most polished look.
- Bullnose Tile:
- Bullnose tiles have a finished, rounded edge that eliminates the need for a transition piece. They create a smooth and visually appealing edge for your tiles.
- Metal Edging:
- Metal edging, such as aluminum or stainless steel, provides a sleek and modern finish to your tile edges. It’s especially popular in contemporary designs.
- Tile Moldings:
- Tile moldings are decorative pieces specifically designed for transitions. They come in various styles and can add a unique touch to your project.
- Transition Trim:
- Transition trim pieces are designed to cover the joint between the tile and drywall. They come in different materials and styles, providing a clean and professional finish.
How to Create a Tile to Drywall Transition
Here’s a step-by-step guide on how to achieve a the transition using the butt joint with caulk method, one of the simplest approaches:
Materials You’ll Need:
- Tiles
- Drywall
- Tile adhesive
- Tile spacers
- Caulk (waterproof)
- Caulking gun
- Tile cutter
- Tile grout
- Tile sealer (optional)
Steps:
- Prepare the Drywall: Ensure your drywall surface is clean, smooth, and free from any imperfections. It’s essential to have a flat and even base for your tiles.
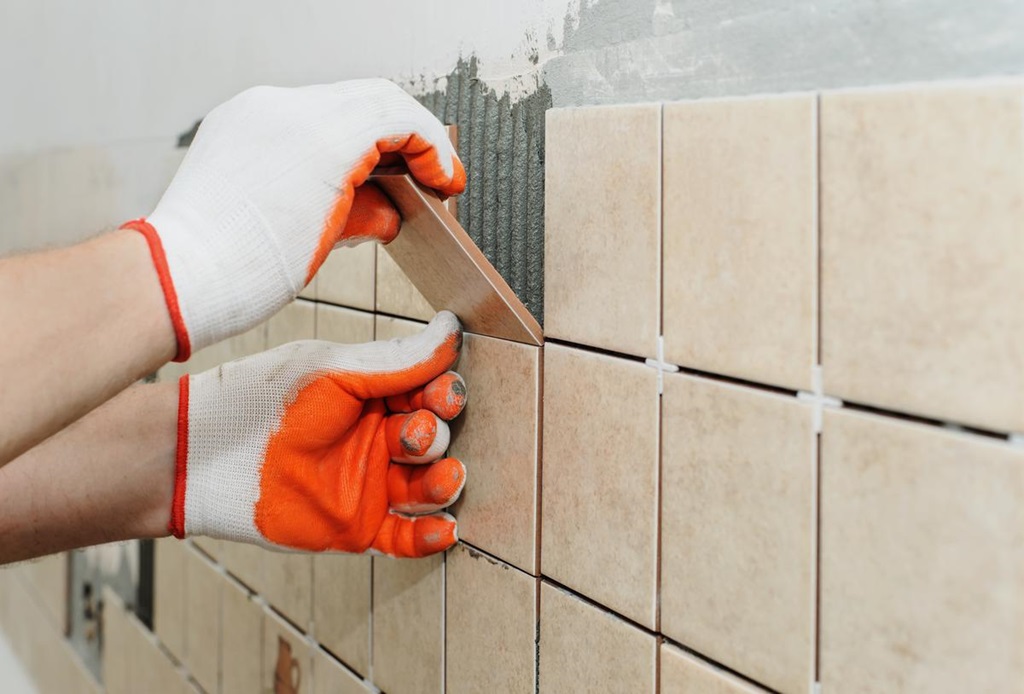
- Tile Layout: Start tiling your surface but leave the last row or column of tiles unfinished, depending on where your transition will be. Use tile spacers to maintain even gaps between the tiles.
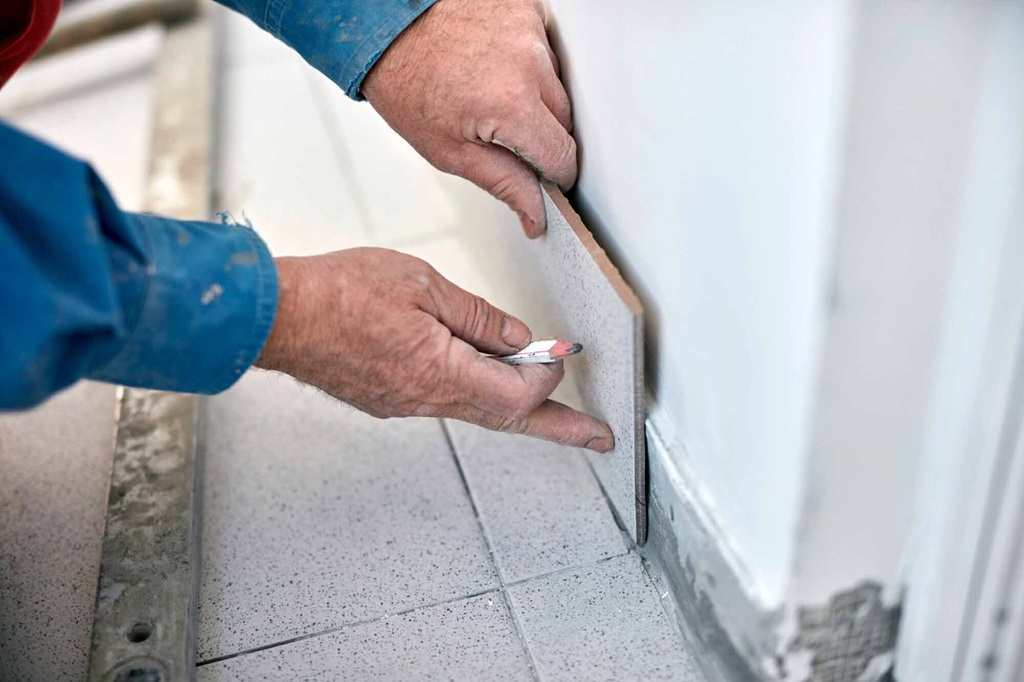
- Measure and Cut: Measure the gap between the last tile and the drywall. Use a tile cutter to cut the last tile to fit the space precisely.
- Apply Adhesive: Spread tile adhesive on the back of the cut tile and press it into place against the drywall.
- Set the Tile: Align the tile with the adjacent tiles, ensuring it’s level and straight. Use tile spacers to maintain consistent gaps.
- Grouting: Once the adhesive has dried, remove the tile spacers and grout the entire tiled surface. Be careful around the transition area.
- Caulk the Transition: After the grout has dried, apply a bead of waterproof caulk along the transition where the tile meets the drywall. Smooth the caulk with a damp sponge or your finger to create a clean finish.
- Sealing (Optional): Depending on the location and type of tiles used, you may want to apply a tile sealer to protect your grout and tiles.
Troubleshooting Common Problems
In any home improvement project, issues may arise. Let’s address a few common problems that you might encounter when dealing with tile to drywall transitions and how to solve them:
- Uneven Surface: If your drywall is uneven, it can result in an inconsistent tile to drywall transition. In this case, you may need to apply a thin layer of drywall compound to level the surface before tiling.
- Grout Staining: Sometimes, grout can stain or discolor due to moisture or other factors. To prevent this, ensure that your grout is properly sealed and clean it regularly.
- Gaps and Cracks: If you notice gaps or cracks in the caulk or grout, it’s essential to remove the damaged material and reapply fresh caulk or grout.
In Conclusion
Creating a smooth and attractive tile to drywall transition is an essential skill for any DIY enthusiast or homeowner looking to spruce up their space. By understanding the various methods and techniques available, you can choose the one that best suits your project and achieve professional results. Remember to troubleshoot common issues and maintain your transition for long-lasting beauty and functionality. So, go ahead, embrace the world of tile to drywall transitions, and elevate the look of your home one tile at a time!
FAQs
Q1: Can I use regular caulk for the tile to drywall transition?
A1: It’s recommended to use waterproof caulk for the transition, especially in wet areas like showers, to prevent moisture damage.
Q2: What’s the difference between bullnose tiles and metal edging for transitions?
A2: Bullnose tiles have a finished, rounded edge, while metal edging is a separate piece that can be applied to the tile edge. Bullnose tiles provide a seamless look, while metal edging adds a modern touch.
Q3: Do I need special tools to cut tiles for the transition?
A3: Yes, a tile cutter or a wet saw is recommended for cutting tiles to fit the transition area accurately.
Q4: Can I install transition trim after the tiles are in place?
A4: Yes, transition trim can be installed after the tiles are in place. Simply attach it using adhesive or screws, depending on the type of trim.
Q5: Is it necessary to seal the grout and tiles in a tile to drywall transition?
A5: Sealing is optional but recommended, especially in areas with high moisture levels, to protect the grout and tiles from staining and damage.


